现在,网站的整体架构(包括前端、后台)都搭建起来了,但是我们还有许多东西需要完善。
1.后台需要有修改公司介绍的功能。
2.需要有上传图片的功能。
下面我们就来完善这些功能。
一、添加公司介绍
运行pgAdmin连上数据库,然后按第4章的做法,打开sql查询分析器,运行下面代码添加一条数据库记录:
1 | INSERT INTO infomation(id, title) VALUES (1, '公司介绍'); |
二、公司介绍记录读取
将main.py用户登录判断那两行代码注释掉
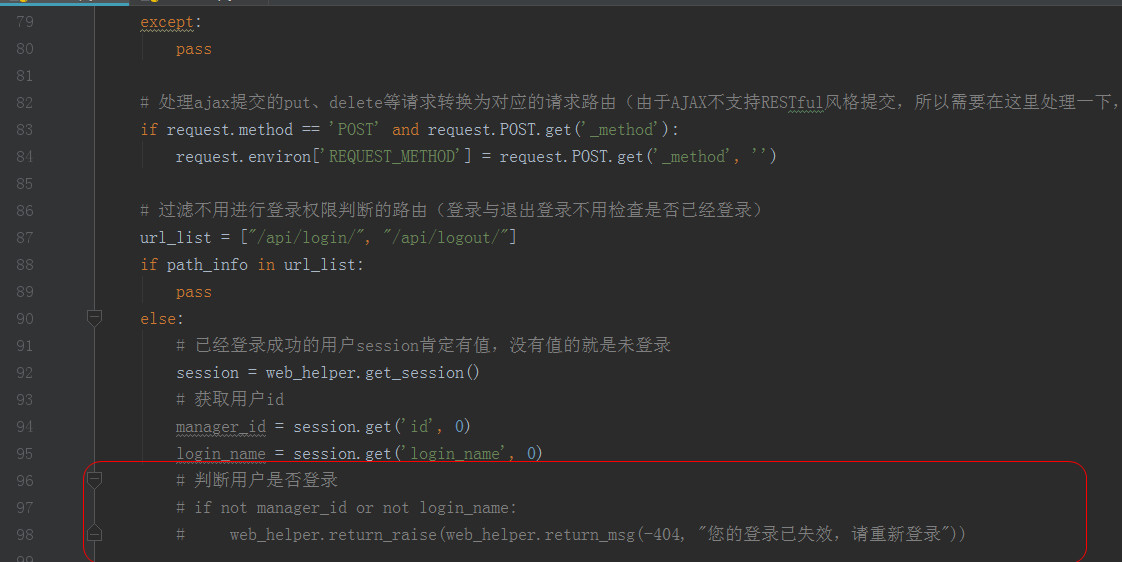
在api文件夹下面新增一个about.py,在下面添加如下代码:
4 | from bottle import get, put |
5 | from common import web_helper, string_helper, db_helper |
13 | sql = """select * from infomation where id = 1""" |
15 | result = db_helper.read(sql) |
18 | return web_helper.return_msg(0, '成功', result[0]) |
20 | return web_helper.return_msg(-1, "查询失败") |
因为公司介绍id添加后不会再改变,所以sql语句直接绑死id为1,另外,执行数据库查询以后,返回的是列表,所以返回记录时要加上序号:result[0]
三、测试结果
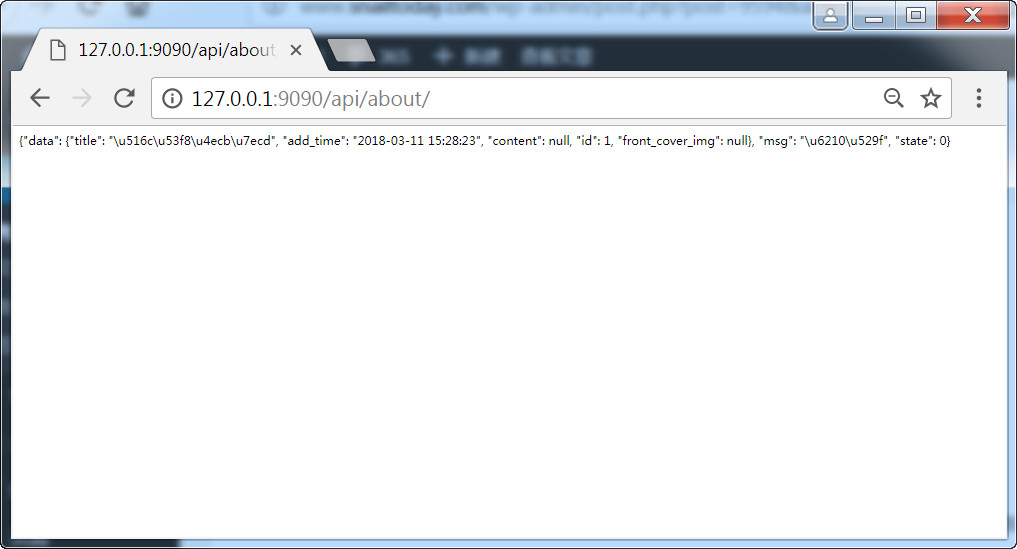
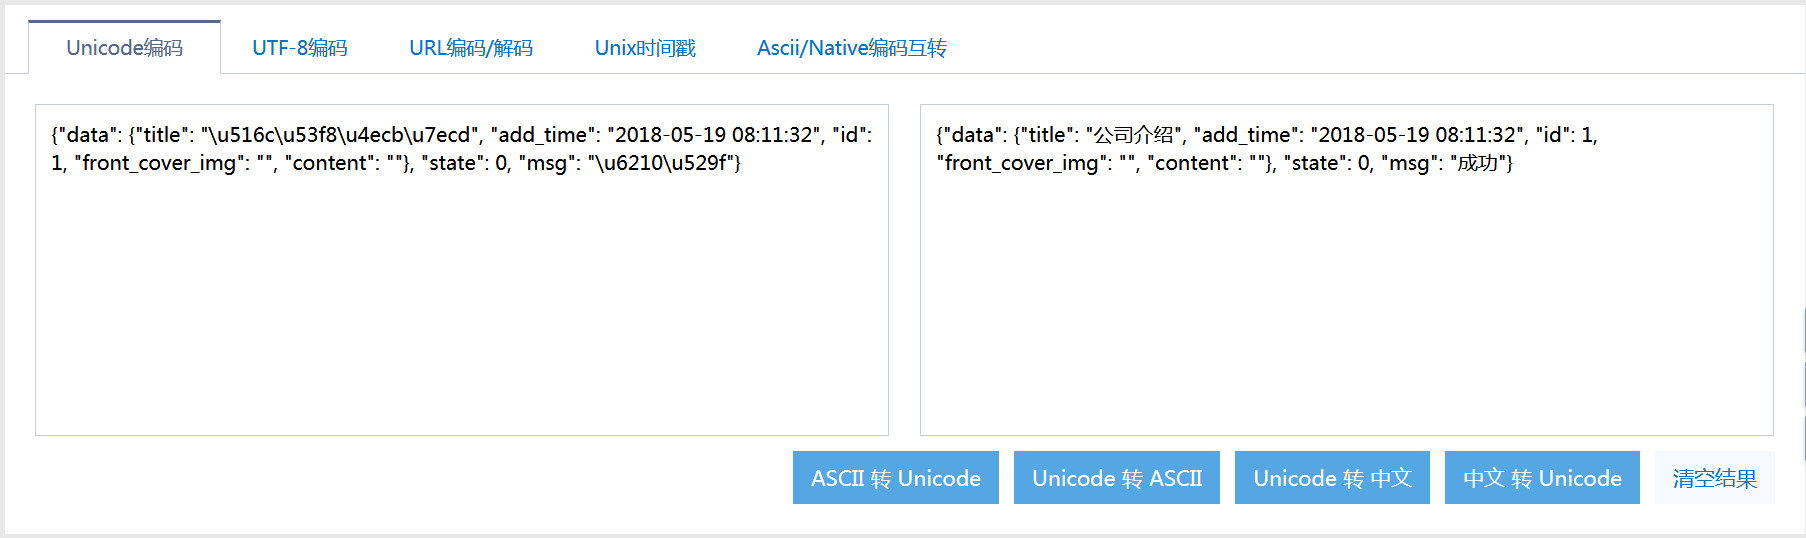
在浏览器输入:http://127.0.0.1:9090/api/about/,看到如下界面,里面有“ "state": 0”的信息,就表示成功了。
备注:乱码问题
如果你看到的界面是这样的,是因为中文字符是unicode编码。
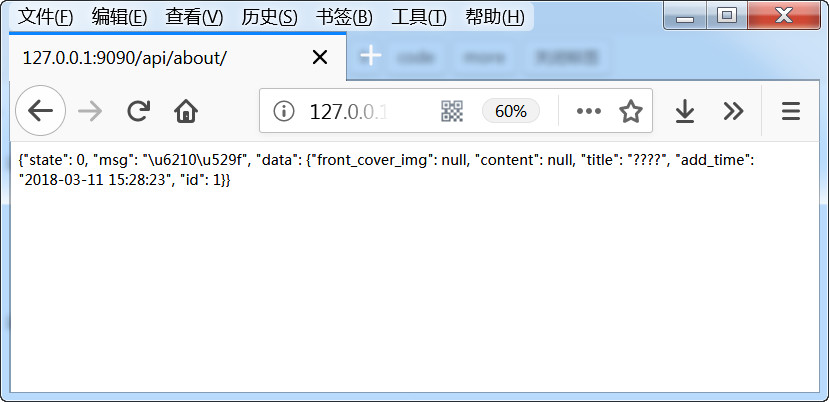
这样的代码可以通过站长工具进行转码。
四、防sql注入和防xss处理
首先使用pip install bleach安装bleach这个库,它是一个基于白名单、通过转义或去除标签和属性的方式,来对HTML文本净化的python库。
打开string_helper文件,在开头加入import bleach,在末尾添加如下代码:
7 | tags = ['a', 'abbr', 'acronym', 'b', 'blockquote', 'code', 'em', 'i', 'li', 'ol', 'strong', 'ul'] |
9 | ['div', 'p', 'hr', 'br', 'pre', 'code', 'span', 'h1', 'h2', 'h3', 'h4', 'h5', 'del', 'dl', 'img', 'sub', 'sup', 'u', |
10 | 'table', 'thead', 'tr', 'th', 'td', 'tbody', 'dd', 'caption', 'blockquote', 'section']) |
11 | attributes = {'*': ['class', 'id'], 'a': ['href', 'title', 'target'], 'img': ['src', 'style', 'width', 'height']} |
12 | return bleach.linkify(bleach.clean(html, tags=tags, attributes=attributes)) |
五、添加修改公司介绍接口
修改记录使用put方式接收:@put('/api/about/'),在about.py中,添加如下代码:
6 | front_cover_img = web_helper.get_form('front_cover_img', '图片') |
7 | content = web_helper.get_form('content', '内容', is_check_special_char=False) |
9 | content = string_helper.filter_str(content, "'") |
11 | content = string_helper.clear_xss(content) |
14 | sql = """update infomation set front_cover_img=%s, content=%s where id=1""" |
15 | vars = (front_cover_img, content,) |
17 | db_helper.write(sql, vars) |
20 | return web_helper.return_msg(0, '成功') |
六、添加上传接口
由于我们使用的文本编辑器是百度的ueditor,因为它没有python的上传处理代码,所以我们需要动手编辑上传接口,以及html上也要进行对应的修改。
在api文件夹下面新建一个files.py,代码如下:
5 | from bottle import post, request |
6 | from common import datetime_helper, random_helper, log_helper |
23 | upload = request.files.get('upfile') |
24 | # 如果没有读取到上传文件或上传文件的方式不正确,则返回上传失败状态 |
29 | name, ext = os.path.splitext(upload.filename) |
32 | file_name = datetime_helper.to_number() + random_helper.get_string(5) + ext |
34 | file_name = datetime_helper.to_number() + random_helper.get_string(5) + '.jpg' |
35 | upload.filename = file_name |
38 | filepath = '/upload/' + datetime_helper.to_number('%Y%m%d') + '/' |
40 | upload_path = os.getcwd() + filepath |
42 | if not os.path.exists(upload_path): |
45 | upload.save(upload_path + upload.filename, overwrite=True) |
48 | result['title'] = result['original'] = upload.filename |
49 | result['url'] = filepath + upload.filename |
50 | result['state'] = 'SUCCESS' |
51 | except Exception as e: |
52 | log_helper.error('上传失败:' + str(e.args)) |
七、建立上传文件的存放文件夹
在项目的根目录下创建upload文件夹。
八、创建文件下载路由
添加bottle库的response, static_file这两个包,打开main.py文件,将原来的:
1 | from bottle import default_app, get, run, request, hook |
改成:
1 | from bottle import default_app, get, run, request, hook, route, response, static_file |
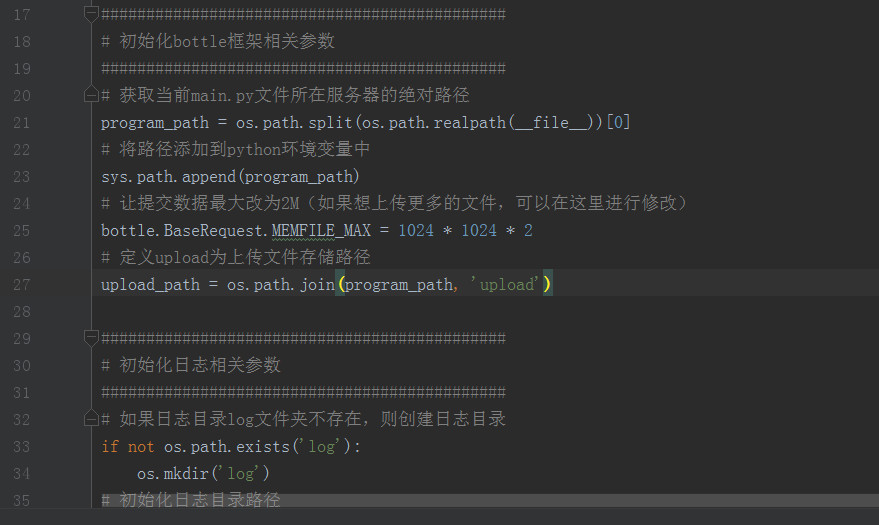
在26行的位置插入以下代码:
2 | upload_path = os.path.join(program_path, 'upload') |
插入后的效果:
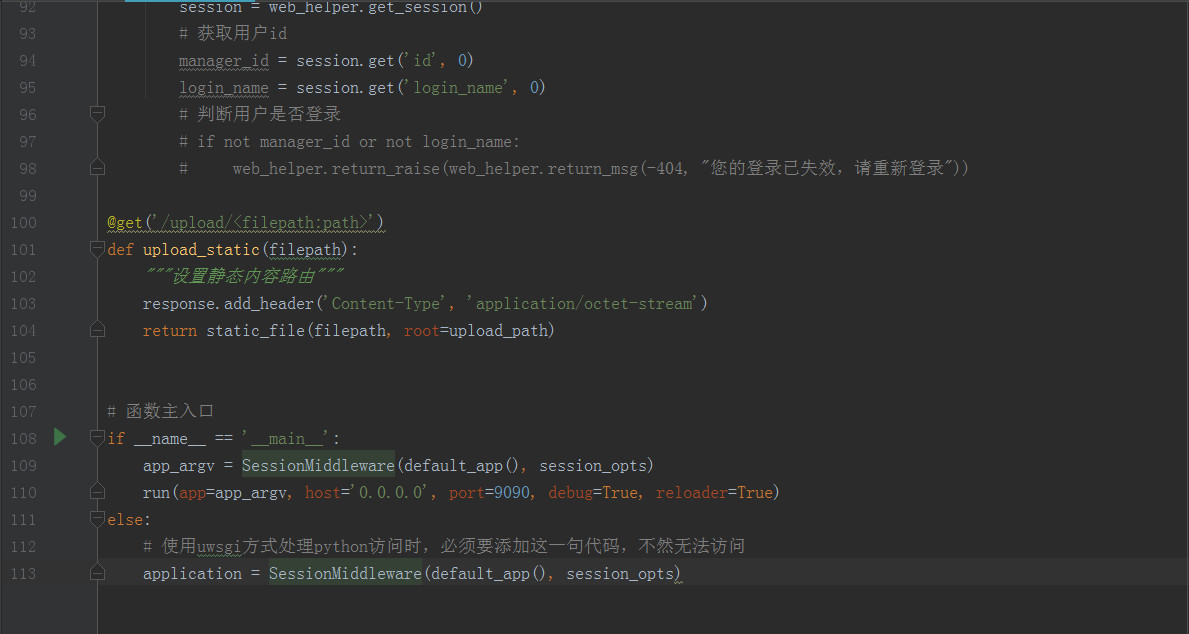
再在函数主入口前面位置添加以下代码,设置后只要放在upload目录下的文件都可以直接通过浏览器下载:
1 | @get('/upload/<filepath:path>') |
2 | def upload_static(filepath): |
4 | response.add_header('Content-Type', 'application/octet-stream') |
5 | return static_file(filepath, root=upload_path) |
效果图:
九、修改前端页面
打开html文件夹中的/lib/ueditor/1.4.3/ueditor.config.js,修改“服务器统一请求接口路径”为下面的形式。
将原来的
1 | , serverUrl: URL + "php/controller.php" |
改成:
1 | , serverUrl: "/api/files/" |
在/lib/ueditor/1.4.3/目录下面添加一个python文件夹,在里面新增一个config.json文件,代码如下:
4 | "imageActionName": "uploadimage", |
5 | "imageFieldName": "upfile", |
6 | "imageMaxSize": 2048000, |
7 | "imageAllowFiles": [".png", ".jpg", ".jpeg", ".gif", ".bmp"], |
8 | "imageCompressEnable": true, |
9 | "imageCompressBorder": 1600, |
10 | "imageInsertAlign": "none", |
12 | "imagePathFormat": "/upload/{yyyy}{mm}{dd}/{time}{rand:6}", |
27 | "scrawlActionName": "uploadscrawl", |
28 | "scrawlFieldName": "upfile", |
29 | "scrawlPathFormat": "/upload/{yyyy}{mm}{dd}/{time}{rand:6}", |
30 | "scrawlMaxSize": 2048000, |
31 | "scrawlUrlPrefix": "", |
32 | "scrawlInsertAlign": "none", |
35 | "snapscreenActionName": "uploadimage", |
36 | "snapscreenPathFormat": "/upload/{yyyy}{mm}{dd}/{time}{rand:6}", |
37 | "snapscreenUrlPrefix": "", |
38 | "snapscreenInsertAlign": "none", |
41 | "catcherLocalDomain": ["127.0.0.1", "localhost", "img.baidu.com"], |
42 | "catcherActionName": "catchimage", |
43 | "catcherFieldName": "source", |
44 | "catcherPathFormat": "/upload/{yyyy}{mm}{dd}/{time}{rand:6}", |
45 | "catcherUrlPrefix": "", |
46 | "catcherMaxSize": 2048000, |
47 | "catcherAllowFiles": [".png", ".jpg", ".jpeg", ".gif", ".bmp"], |
50 | "videoActionName": "uploadvideo", |
51 | "videoFieldName": "upfile", |
52 | "videoPathFormat": "/upload/{yyyy}{mm}{dd}/{time}{rand:6}", |
54 | "videoMaxSize": 102400000, |
56 | ".flv", ".swf", ".mkv", ".avi", ".rm", ".rmvb", ".mpeg", ".mpg", |
57 | ".ogg", ".ogv", ".mov", ".wmv", ".mp4", ".webm", ".mp3", ".wav", ".mid"], |
60 | "fileActionName": "uploadfile", |
61 | "fileFieldName": "upfile", |
62 | "filePathFormat": "/upload/{yyyy}{mm}{dd}/{time}{rand:6}", |
64 | "fileMaxSize": 51200000, |
66 | ".png", ".jpg", ".jpeg", ".gif", ".bmp", |
67 | ".flv", ".swf", ".mkv", ".avi", ".rm", ".rmvb", ".mpeg", ".mpg", |
68 | ".ogg", ".ogv", ".mov", ".wmv", ".mp4", ".webm", ".mp3", ".wav", ".mid", |
69 | ".rar", ".zip", ".tar", ".gz", ".7z", ".bz2", ".cab", ".iso", |
70 | ".doc", ".docx", ".xls", ".xlsx", ".ppt", ".pptx", ".pdf", ".txt", ".md", ".xml" |
74 | "imageManagerActionName": "listimage", |
75 | "imageManagerListPath": "/upload/", |
76 | "imageManagerListSize": 20, |
77 | "imageManagerUrlPrefix": "", |
78 | "imageManagerInsertAlign": "none", |
79 | "imageManagerAllowFiles": [".png", ".jpg", ".jpeg", ".gif", ".bmp"], |
82 | "fileManagerActionName": "listfile", |
83 | "fileManagerListPath": "/upload/", |
84 | "fileManagerUrlPrefix": "", |
85 | "fileManagerListSize": 20, |
86 | "fileManagerAllowFiles": [ |
87 | ".png", ".jpg", ".jpeg", ".gif", ".bmp", |
88 | ".flv", ".swf", ".mkv", ".avi", ".rm", ".rmvb", ".mpeg", ".mpg", |
89 | ".ogg", ".ogv", ".mov", ".wmv", ".mp4", ".webm", ".mp3", ".wav", ".mid", |
90 | ".rar", ".zip", ".tar", ".gz", ".7z", ".bz2", ".cab", ".iso", |
91 | ".doc", ".docx", ".xls", ".xlsx", ".ppt", ".pptx", ".pdf", ".txt", ".md", ".xml" |
完成以上两项配置之后,就可以使用上传图片的功能了。
十、修改公司介绍
点击“首页图片”后面的“浏览”按钮,插入一张图片。

点击编辑器上的插入图片图标,选择一张图片插入。
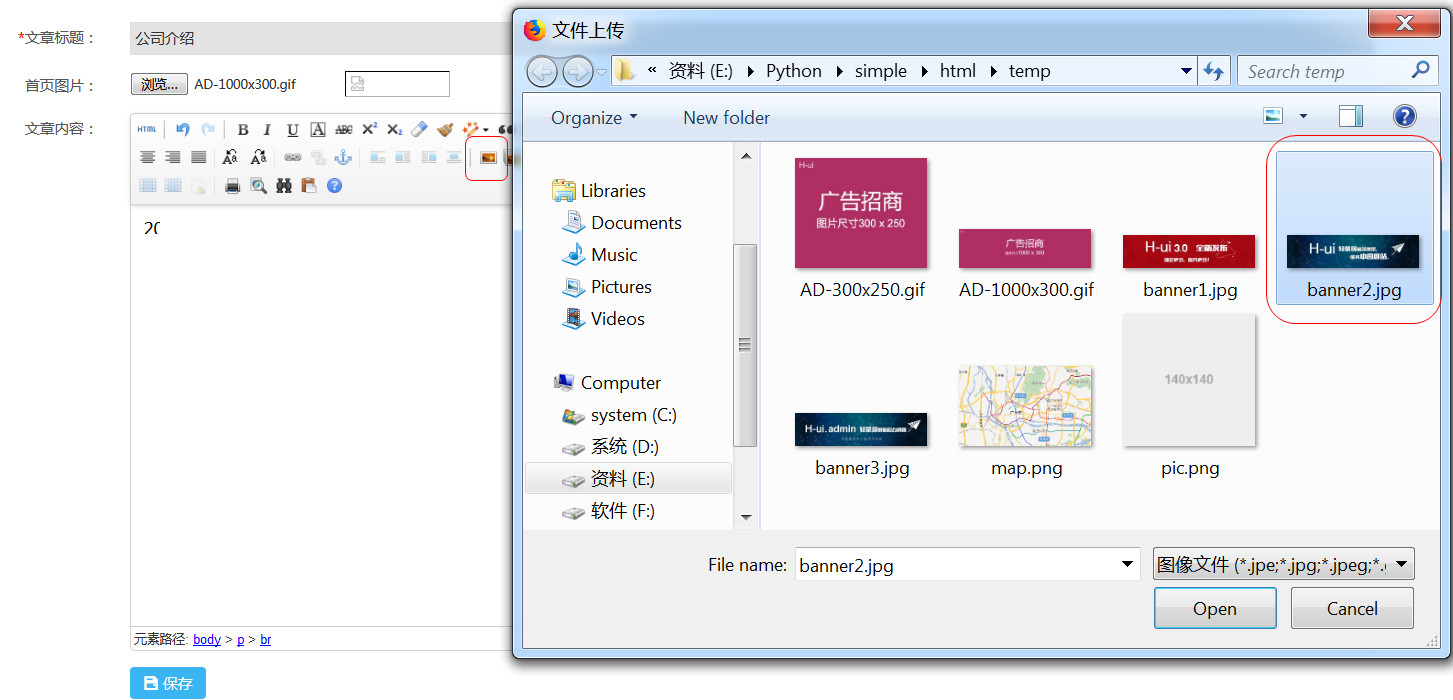
然后再输入公司简介的内容,点击保存。
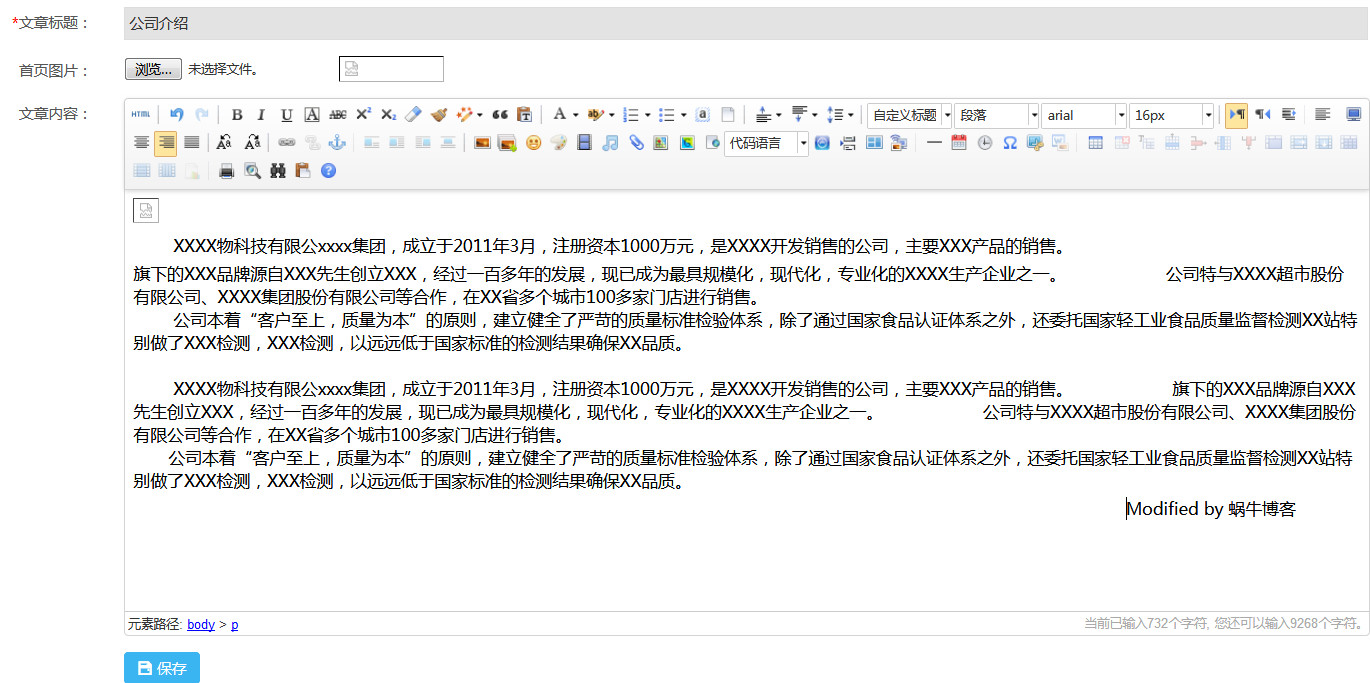
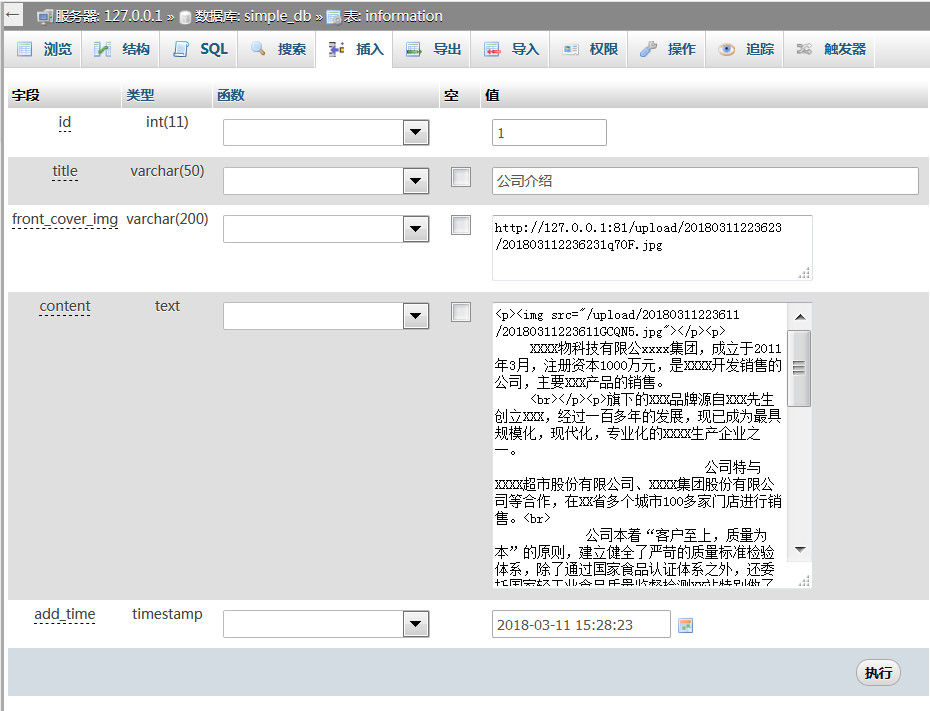
进入数据库,可以看到我们刚刚修改后的结果。
十一、设定图片路径
从步骤十的截图可以看到,我们上传的图片显示为一个白色的小图标,而百度的UEditor上传图片之后,是可以显示图片的。
通过测试发现:我们可以通过:http://127.0.0.1:9090/upload/20180312200449/2018031220044969Fw2.jpg 来访问这张上传的图片,但是我们如果用http://127.0.0.1:81/upload/20180312200449/2018031220044969Fw2.jpg 是无法显示这张图片的,而我们现在正在我们的后台,后台的地址就是http://127.0.0.1:81,所以图片当然也无法显示了。
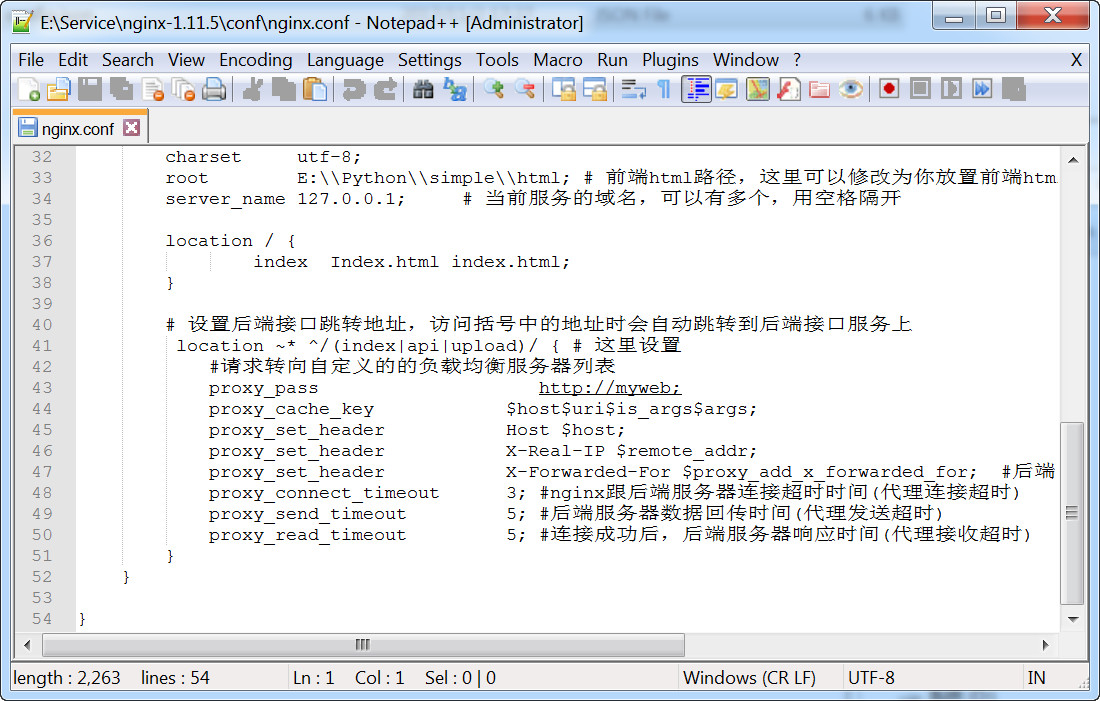
打开nginx配置文件 :E:\Service\nginx-1.11.5\conf\nginx.conf
将location ~* ^/(index|api)/ 修改为 location ~* ^/(index|api|upload)/
然后同时按Ctrl+Alt+Del键,点击启动任务管理器,找到nginx_service.exe,右键=》结束进程树。
重新打开服务(控制面板=》所有控制面板项=》管理工具=》服务),启动nginx_service服务。
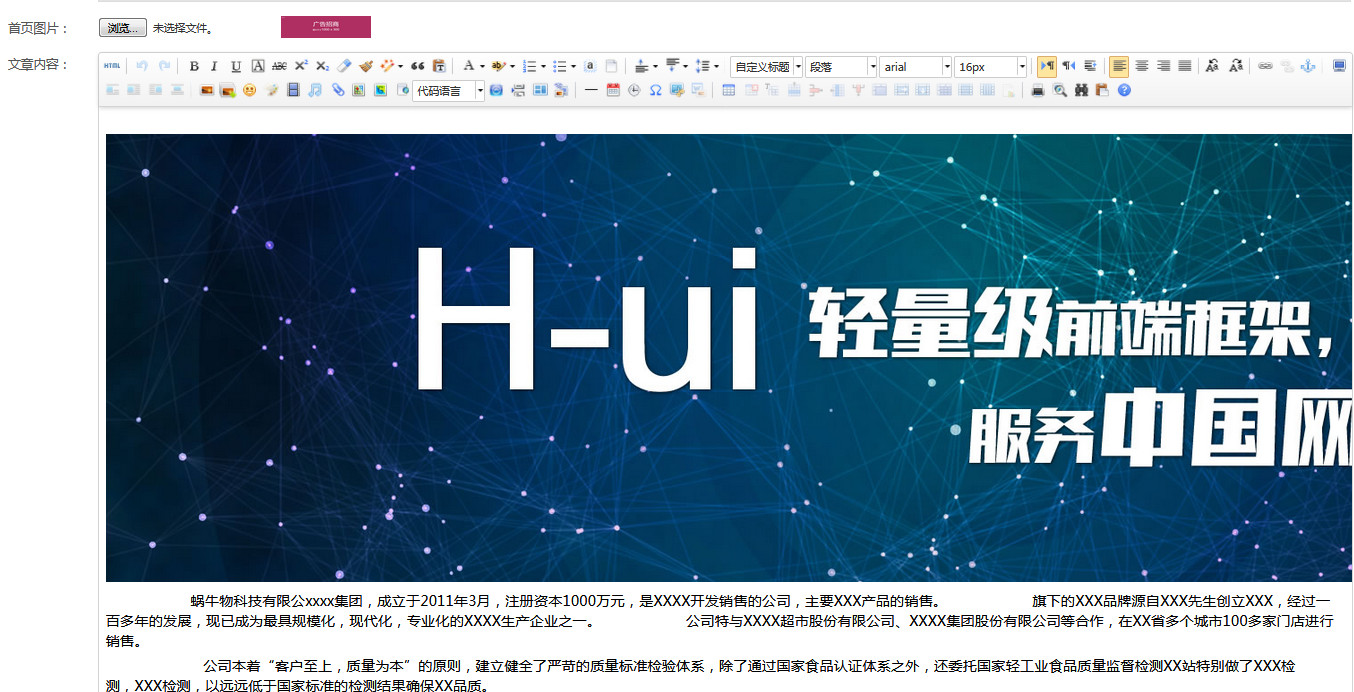
刷新一下后台,就可以看到图片正常显示了。
备注:
这一章是最难的一章,两次在这儿栽跟斗,就是源码有问题,我第一次做这个教程的时候做到第十一章,当时是解决了这个问题的。、
不过第二次做时,完全忘记了,所以又犯了同样的错误,就是可以通过info.log查看出错信息,这样就可以发现files.py里面的这段代码是有问题的:
1 | filepath = '/upload/' + datetime_helper.to_number('%Y%m%d') + '/' |
to_number是不需要带参数的。